
Fiat 1300DT rebuild v 1.0

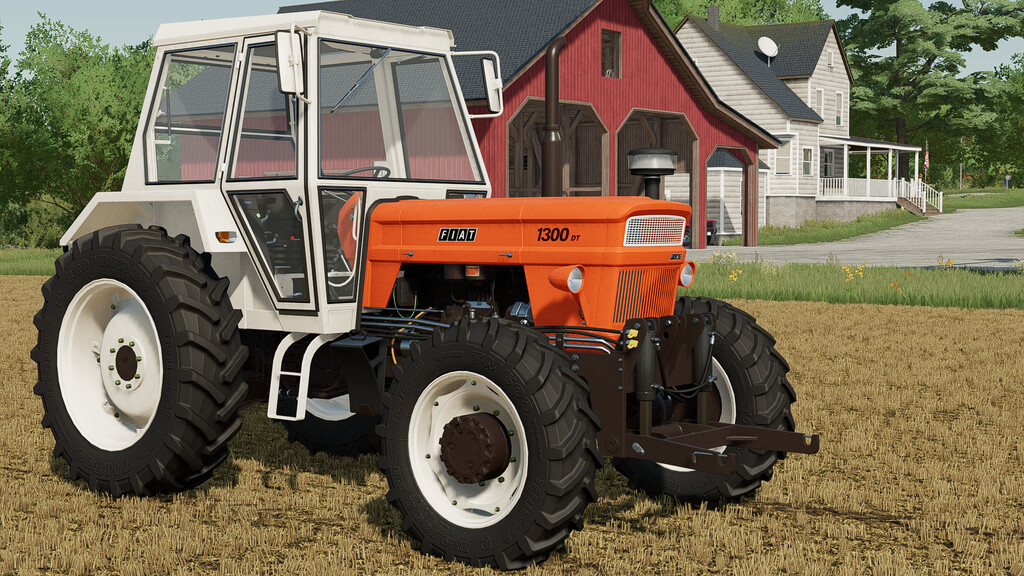
Fiat 1300DT rebuild v 1.0
– Power: 132 – 185 hp
– Front axle / track width widened so it matches the rear one
– Realistically possible wheel configurations for all matching brands (and there are quite a few wheel configs and combinations)
– Frame and engine color changed to brown like the original, not grey (also optional blue though that particular tractor never had a blue chassis originally some restored tractors have that)
– New rims made
– New hubs for front axle made
– Optional front 3pt linkage and front pto made
– Different material/color configurations for cab, rims and fenders
– Chassis material configuration
– Engine configurations: default, chrome/open pipe, turbocharger(with visible turbocharger), turbocharger with intercooler (different air filter outside gets visible)
– Various wheel configs
– Configuration for front 3pt and front 3pt with pto
– Physics adjusted according to MoreRealistic calculations
– The doors and windows (included open/closing sounds) are animated
– If Simple IC Mod is active (PC only) then MouseControl will automatically be deactivated and animations are via Simple IC instead